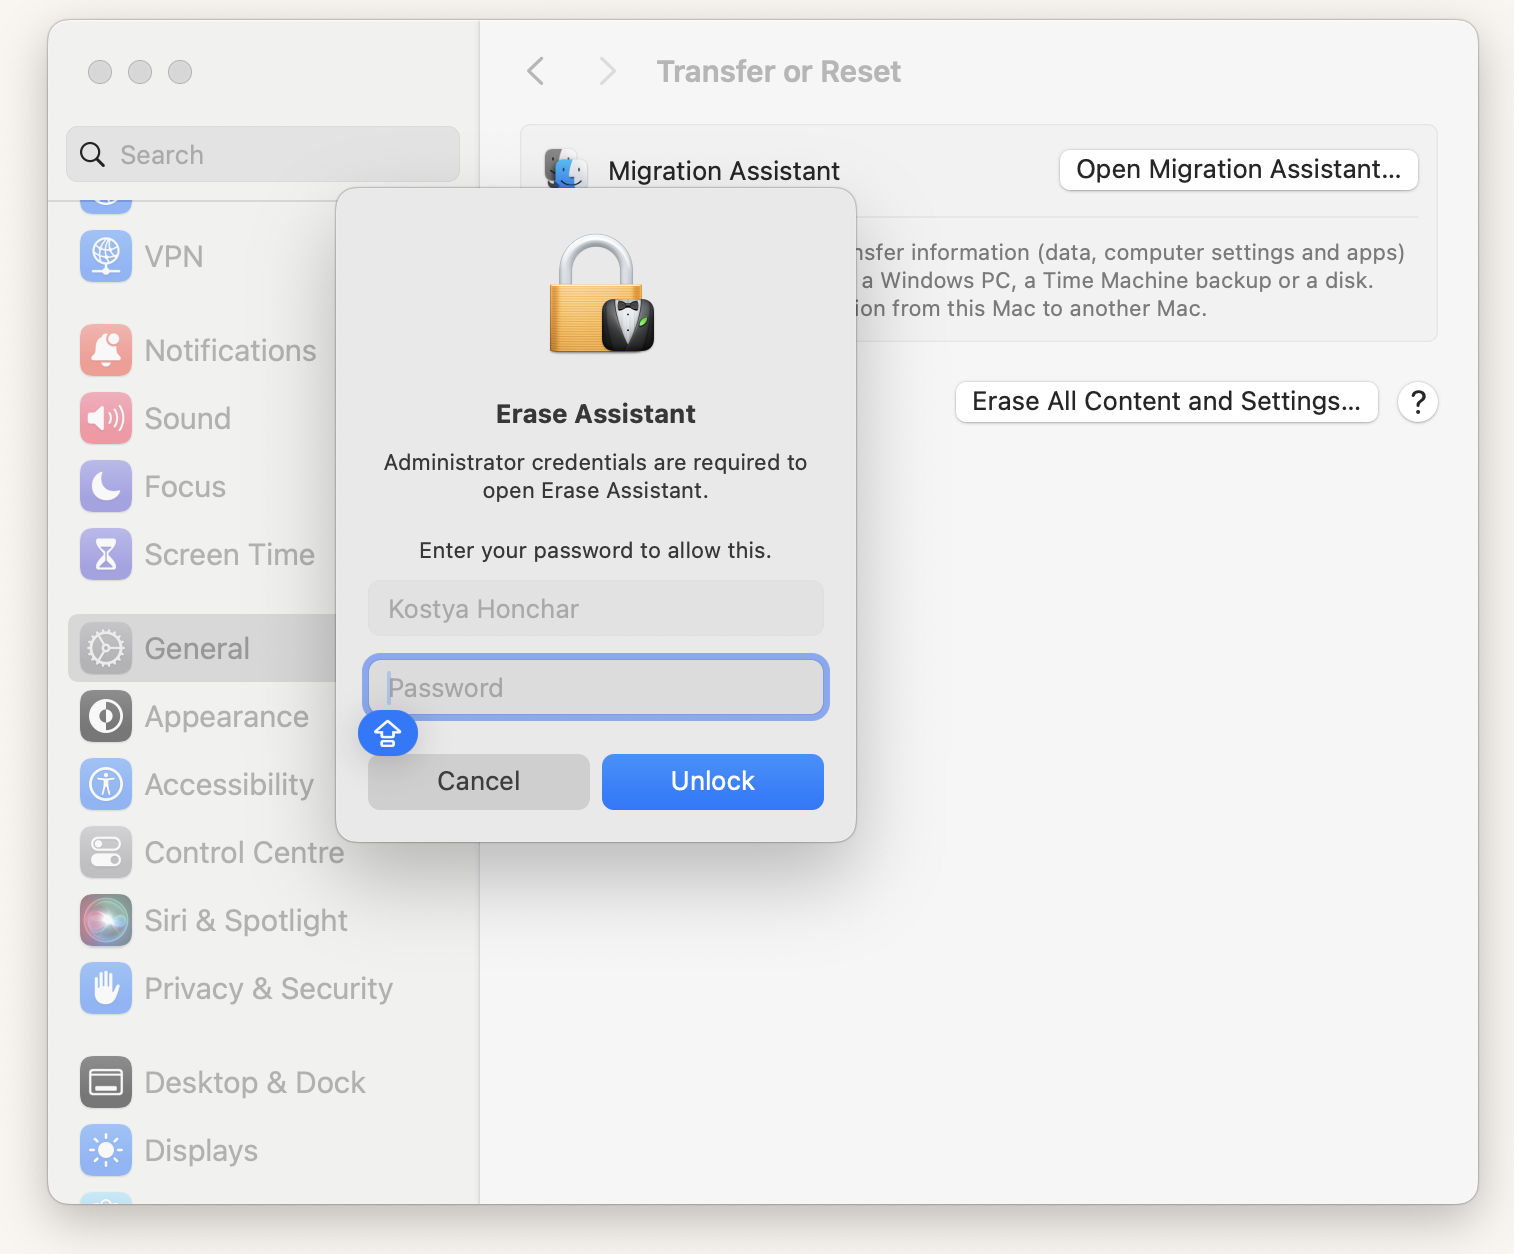
How to fix “Erase Assistant is not supported on this Mac”
Sometimes, you just need something new in life. So, I decided to give away my old 13-inch MacBook Air (2017) and upgrade to the latest model. As a true reuse-reduce-recycle fan, I started preparing my old Mac to give it away. But it turned out the Erase Assistant didn't work on my device.
Figuring out why I couldn’t erase my Mac took some time, but it became clear that Erase Assistant simply wasn't available for older Macs like mine.
So, here's my guide on how to fix the "Erase Assistant is not supported on this Mac" issue.
What is Erase Assistant?
Erase Assistant is a built-in macOS tool that wipes your hard drive and removes all files, settings, and apps.
It's super useful for either Apple Silicon Mac or the older ones with T2 security chips because it erases data without a complex reinstall process.
To open Erase Assistant, follow these steps:
- On macOS Ventura and newer: Open System Settings in the Apple menu > General > Transfer or Reset > Erase All Content and Settings.
- On macOS Monterey: Open System Preferences in the Apple menu > Erase All Content and Settings.

Why is Erase Assistant not supported on my Mac?
So you followed all the steps to find an Erase All Content and Settings button but did not see it or encountered an error when clicking. I feel you. That’s where I got stuck, too.
After researching, I found that Erase Assistant works only on macOS Monterey or later and on specific Mac models.
To be specific, it’s only compatible with:
- Apple Silicon Mac
- Intel Mac with the T2 Security Chip
I wasn't entirely sure if my Intel-based MacBook Air (2017) supported Erase Assistant, so I decided to document my steps to verify its compatibility. Next, I'll show you how to check if your device is compatible.
How to check if Mac supports Erase Assistant?
To check if your Mac supports Erase Assistant, start by determining whether your Mac is Intel-based or Apple Silicon-based (if you already know, skip this step).
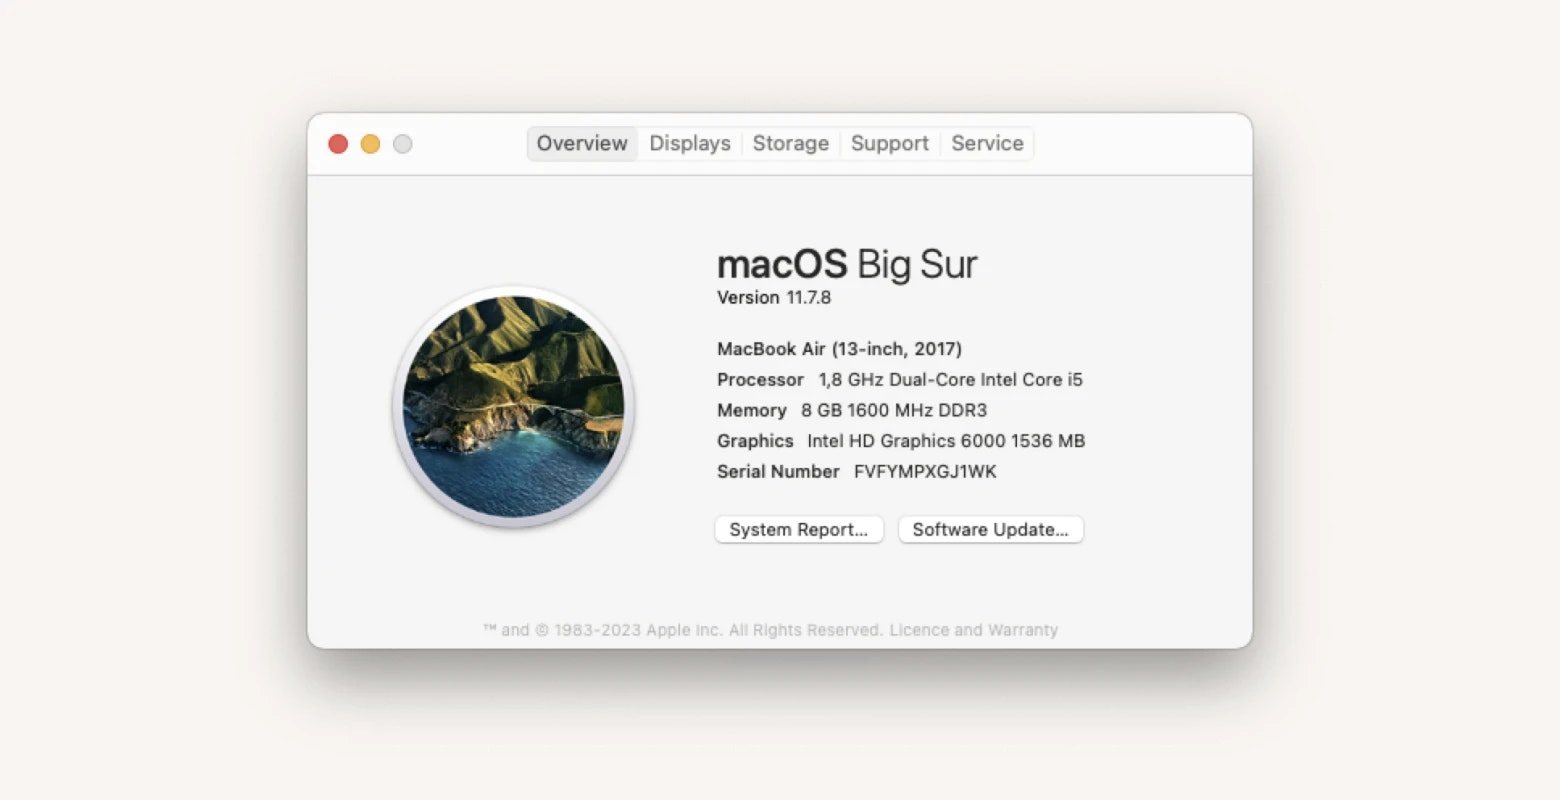
To do that, click on the Apple menu in the top left corner of your screen and select About This Mac. If the window includes an item labeled Chip, your Mac has Apple Silicon, and you can use Erase Assistant.
![]()
If the window doesn’t include a Chip item, your Mac is Intel-based, and you need to do a few more steps to check if it has a T2 Security Chip.
Go to the Launchpad > System Information > Controller or iBridge (depending on your macOS version).
If you see T2 Security Chip listed, your Mac has it, and you can use Erase Assistant.

What if my Mac doesn’t support Erase Assistant?
If your Mac doesn't meet Erase Assistant requirements – don’t worry. You can still erase your Mac using Disk Utility in Recovery Mode. This might be a bit more technical, but still effective. I’ll guide you through this process later in the article.
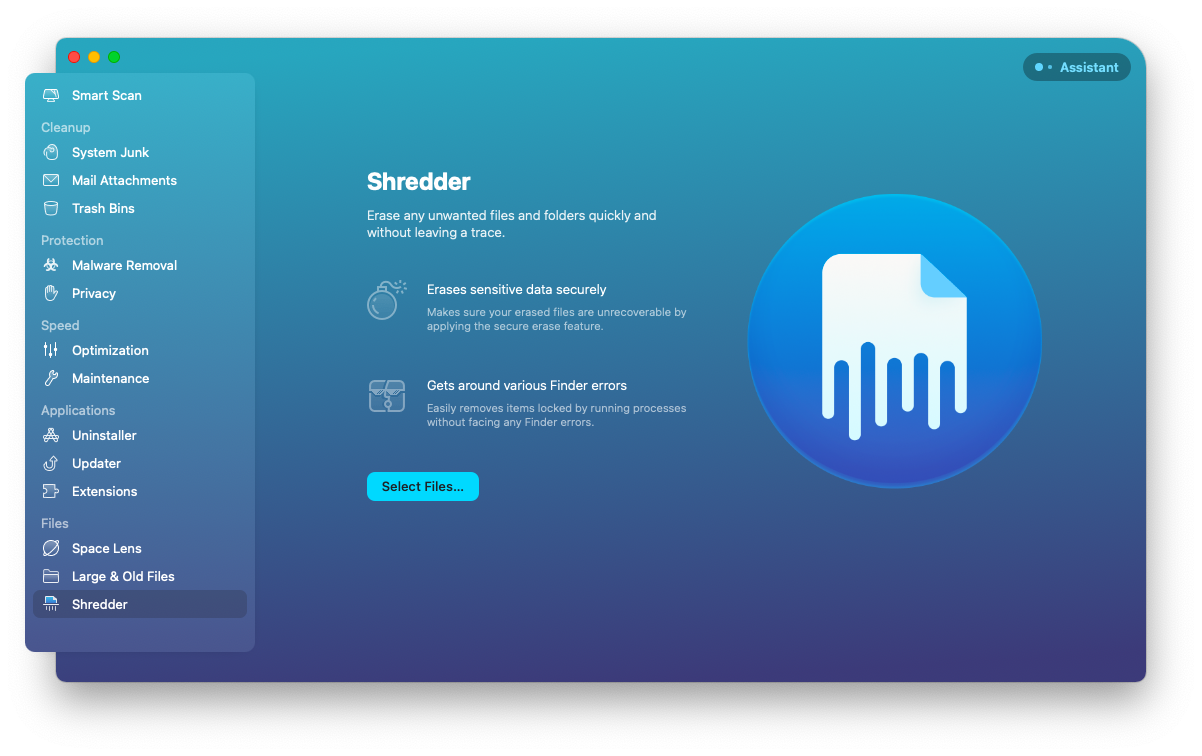
Also, if you don’t have Erase Assistant or just need to delete specific files rather than wipe your whole Mac, I’d recommend using CleanMyMac X. It will help you delete all files securely and completely, and its Shredder feature can erase files locked by running processes.
Here’s how to do that:
- Open CleanMyMac X.
- Click Shredder in the side menu.
- Click Select Files and choose the ones you want to delete from your Mac.
- Click Shred.
The files are gone forever.

How to fix “Erase Assistant is not supported on this Mac”
To recap, Erase Assistant only has two requirements:
- Mac with Apple Silicon or Intel-based Mac with T2 Security Chip
- macOS Monterey or later
If your Mac doesn't meet those requirements, you can still erase it manually. I'll explain how to do that next.
Step 1. Enter Recovery mode
Here’s how you can do it:
If you have an Intel-based Mac | If you have Apple silicon Mac |
|
|
If you need more detailed instructions, read our article on Recovery mode.
Step 2. Open Disk Utility
Once you’re in Recovery Mode, erase your Mac disk using Disk Utility:
- Go to Launchpad or press Command + Space to open the Spotlight search bar.
- Select Disk Utility > Continue.
- In Disk Utility, choose your startup disk from the list.
- Click the Erase button in the toolbar. In the dialogue box, type a disk name, choose APFS as the format, and select Erase Volume Group (if available).
- Click Erase.
Step 3. Reinstall macOS
Okay, so your Mac is clean. Now it's time to get a new copy of macOS. Plan at least 30 minutes for this step (though it can take up to 3 hours, depending on your Mac model).
Here's how you can reinstall macOS:
- Once the disk is erased, quit Disk Utility to return to the macOS Utilities window.
- Choose Reinstall macOS.
- Follow the on-screen instructions.
Depending on the model of your Mac, you’ll be reinstalling the latest compatible macOS.
So far, macOS Sonoma is the newest version available, and it is only compatible with these models (you can find a full list here):
- iMac 2019 and later
- Mac Pro 2019 and later
- iMac Pro 2017
- Mac Studio 2022 and later
- MacBook Air 2018 and later
- Mac Mini 2018 and later
- MacBook Pro 2018 and later
If you're reading this after the fall of 2024 and your Mac is compatible, you'll need to reinstall macOS Sequoia.
Alternative ways to erase Mac
I should also mention several other methods to erase your Mac if you're having trouble (e.g., your hard drive is damaged) using the standard process through Recovery mode that I described earlier in the article.
Using Internet Recovery mode to erase Mac
The first alternative method is using Internet Recovery mode. It boots directly from Apple's servers. You can use it when your hard drive is damaged and needs to be replaced. It installs the original OS that came with your Mac.
To enter Internet Recovery mode, restart your Mac and hold Command + Option + R.
Using Target Disk mode to erase Mac
Another way is to use Target Disk mode. Connect your Mac to another Mac with a Thunderbolt or FireWire cable. You can then erase your disk using Disk Utility on the second Mac.
If you have an Intel-based device, to enter Target Disk Mode, connect two Macs with a cable > Restart the target Mac and hold the T key right away.
Here’s a more detailed guide on how to use Target Disk mode on Mac.
Recap and additional tips to get your Mac ready for a fresh start
Going through the process of erasing my Mac after seeing the "Mac Erase Assistant not supported" message left me with a few key insights I would love to share.
Firstly, if your Mac doesn’t support Erase Assistant, don’t panic. You can still work it all out. Just boot into Recovery mode, use Disk Utility to erase your Mac, and follow the steps in this guide.
Secondly, I should mention that preparing to erase your Mac can be much simpler with the help of some great third-party tools like Get Backup Pro (for backup) and DiskDrill (to recover any lost files).
Lastly, there’s no need to buy all of these apps separately. They are available under a single subscription to the app platform Setapp (along with 240+ apps for Mac, iOS, and web). You can use Setapp to prepare your Mac for its new life within the 7-day trial.
FAQ:
Why Erase All Content and Settings is not showing up on Mac
Erase Assistant doesn’t work on every Mac. You'll need an Intel Mac with a special T2 Security chip or one of Apple's newer silicon chips to use it. Moreover, it is only available on macOS Monterey and later (one more reason to always update your software!)
How to wipe a Mac without Erase Assistant?
If you're seeing the "Erase Assistant is not supported on this Mac" message, don't worry. Use Disk Utility in Recovery mode.
- Restart your Mac and hold the Command + R until you see the Apple logo.
- In the Recovery window, choose Disk Utility.
- Select your main drive, click Erase, choose the format (APFS is usually the best), and click Erase Volume Group.
Important: Always back up your important data before erasing your Mac.
Why won't my Mac let me erase all the content?
To erase all the content on your Mac, you’ll need Erase Assistant, a built-in tool. It has two requirements: Apple Silicon Mac or Intel-based Mac with a T2 Security Chip and macOS Monterey or later.
If your Mac doesn’t meet those requirements, Erase Assistant won't be available. However, you can still erase your Mac manually using Disk Utility in Recovery Mode or CleanMyMac X app.


